How to build an akvopedia page
Contents
Step 1 - Creation of a page
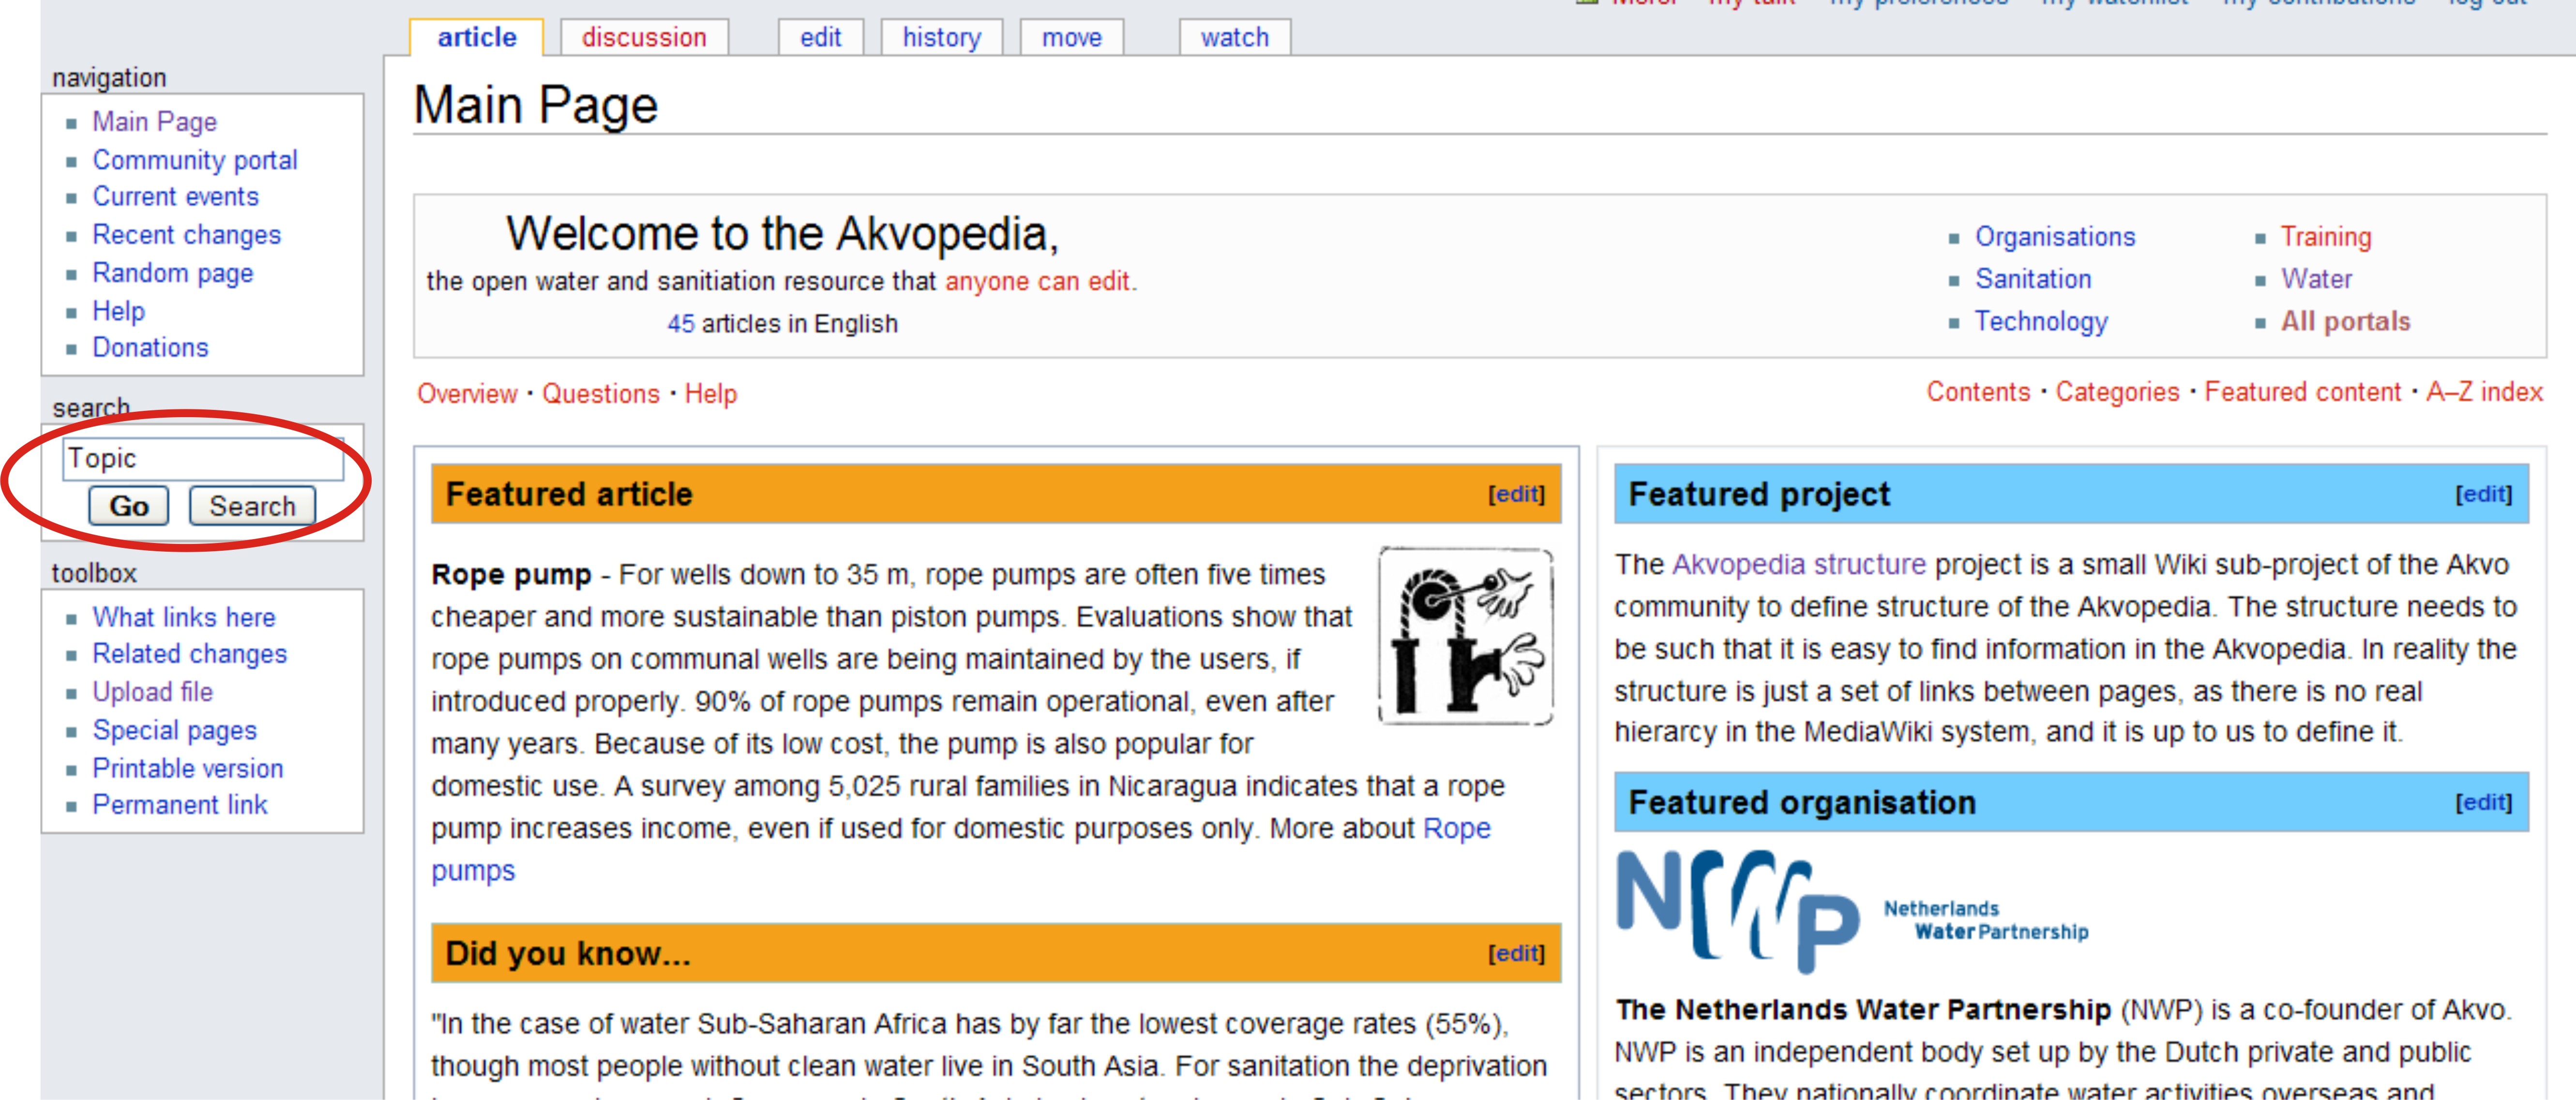
Before creating an article, try to make sure there isn't already an article, perhaps under a slightly different name. If a search does not find your article, consider broadening your search.
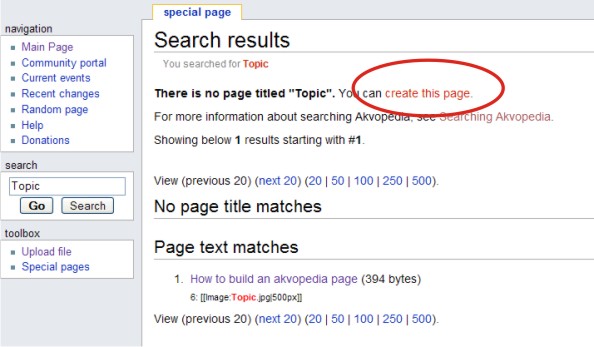
If no results are found, a page can be created.
Now, information can be added (see Step 2).
Step 2 - Adding text
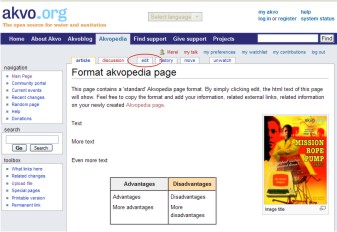
Your information can be added. This page contains a 'standard' akvopedia page set up.
Simply click 'edit'.
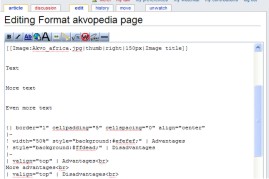
The html text (= computer language to allow website creation) of this page will then show.
You can simply 'copy' the format and 'paste' it in the new akvopedia page that you created via the search field and edit option. You can then add your information, related external links and pictures.
The page will hold the title that you entered in the search field.
This link contains a list of the format options.
Step 3 - Adding a picture
On this page the picture editing page all information about uploading, adding and formating of pictures is explained.
In the akvopedia environment, the following syntax is used to display a picture: [[Image:Akvo_africa.jpg|thumb|right|150px|Image title]]. Simply 'copy' and 'paste' this syntax in the akvopedia article you are editing.
However, this syntax is also present at the standard Akvopedia format page, which can be changed to refer to the uploaded picture when creating a new akvopedia article.
Step 4 - Adding a movie/animation
In order to insert a movie or animation, insert the internet adress/URL under the animation header from the Akvopedia format.
Step 5 - Preview
To see how your page looks, click 'show preview'.
Step 6 - Save page
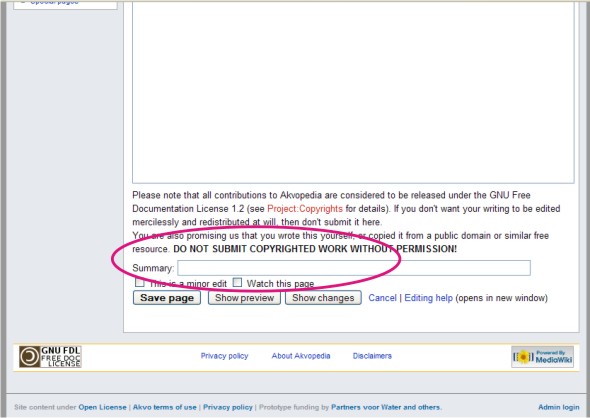
When you are content, add information in the 'Summary' bar to make it easier for your fellow akvopedia editors to track changes.
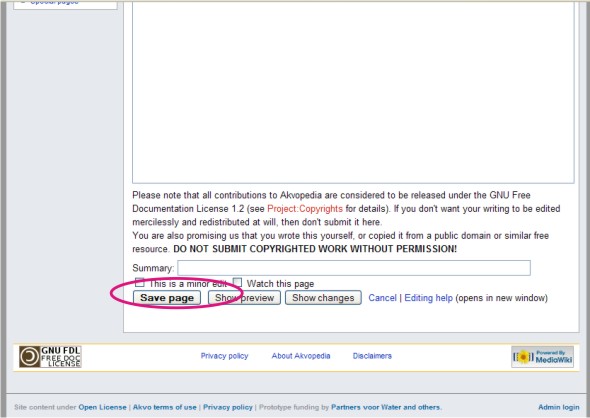
Finally, save the new akvopedia page by clicking 'Save page'.
Step 7 - Editing a page
When you want to change the content of a akvopedia page, simply click 'Edit' and change whatever you want. Then repeat step 4.
Formatting
This link contains a list of the format options.
Additionally, information on how to format pictures can be found here.
